
Inviting Team Members
Use invitations to add staff to your workspace. Choose a role based on the work they need to do and review its plan and seat requirements before sending.
User roles in FyneDesk
FyneDesk has more staff roles than just Admin and Agent. The available choices depend on your plan and permissions. The invite form shows roles your workspace can assign; Role-Based Access Control explains them in detail.
How invitations work
FyneDesk emails the person a secure invitation link. A new member follows it to enter their name, set a password, and complete account setup. Invitation links expire after seven days; pending invitations can be resent.
If the address already belongs to an account in another workspace, the invitation path may differ or be unavailable for your workspace. Do not delete that account to work around an error; ask your administrator or FyneDesk support to check the available membership flow.
Inviting someone
You need the Invite users permission. Open Admin Settings → Team Members to reach People & Access → Users. If the option is missing, ask an Owner or administrator to review your access.
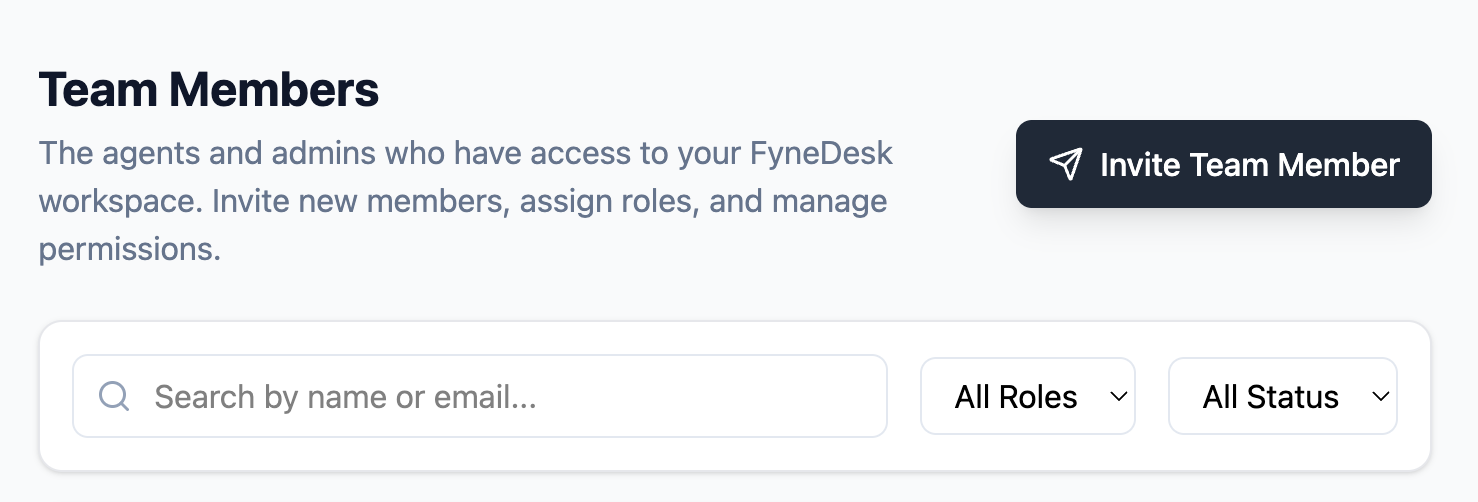
- 1Click Invite Team Member in the top-right corner of the Users tab.
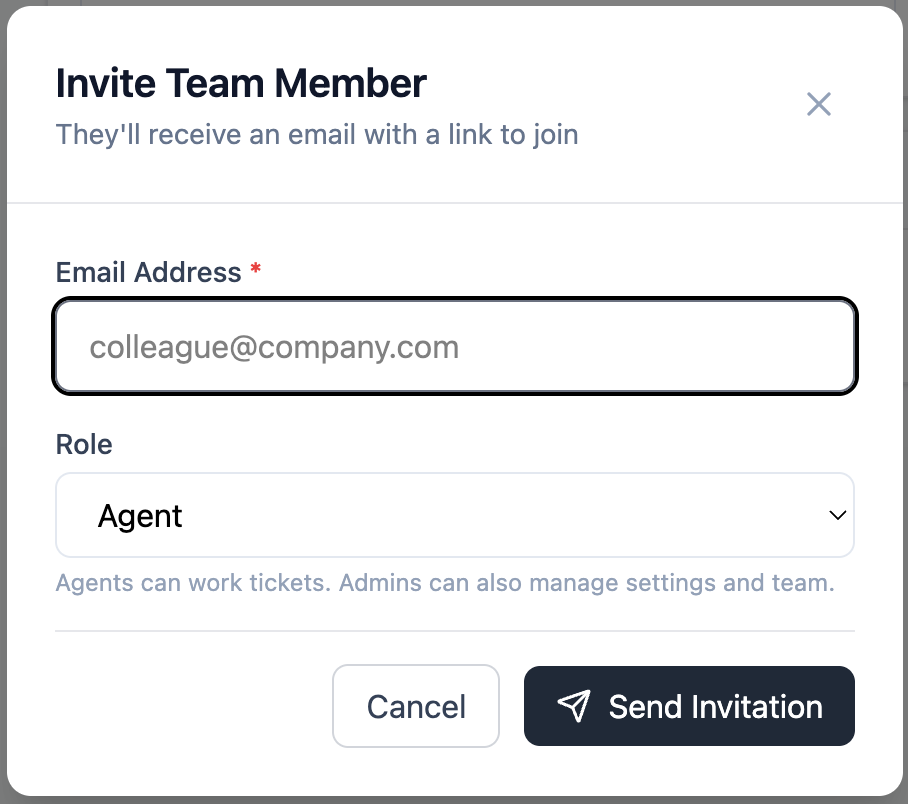
- 2Enter the person's email address and choose an available role. Check whether it uses a paid seat; assign only the access they need.
- 3Click Send Invitation. FyneDesk emails them a secure invitation link.
What the invited person sees
The invitee receives an email with a link to accept the invitation. When they click it, they are taken to a page where they set their full name and password. After completing this, they are logged in and added to your organization.
They should use the invitation link rather than starting a separate signup. Existing-account invitations may follow a different path depending on workspace configuration.
Managing existing users
From the Team Members list, Admins and Owners with the right permission can:
- See all team members and their current roles
- Open a member, choose Edit Team Member, and change their Role field
- Deactivate a user to prevent them from logging in without deleting their data
- Re-send a pending invitation if it hasn't been accepted yet
Deactivating a user
When a team member leaves, deactivate their account rather than deleting it. Deactivation immediately blocks them from logging in while preserving their ticket history and comments. Their past work stays intact and attributed to them.
To deactivate: find the member in Team Members, open their options, and select Deactivate.
Frequently asked questions
Can someone join my organization without an invitation?
Not without an Admin's approval. If someone signs up with a verified email address on your company's domain, they can request to join your workspace — an Admin reviews the request and accepts (choosing their role) or denies it. There is no automatic joining. See the domain join FAQ for details.
Can an Agent invite other users?
Only someone with the Invite users permission can send a staff invitation. This can include an authorized Support Manager; an ordinary Agent does not receive that permission by default.
What if the invitation email doesn't arrive?
Ask them to check their spam or junk folder. If it's not there, open Team Members, find the pending invitation, and resend it.
Can I change a user's role after they've joined?
Yes. Open Team Members, select the member, choose Edit Team Member, and change the Role field. The change takes effect immediately on their next page load.